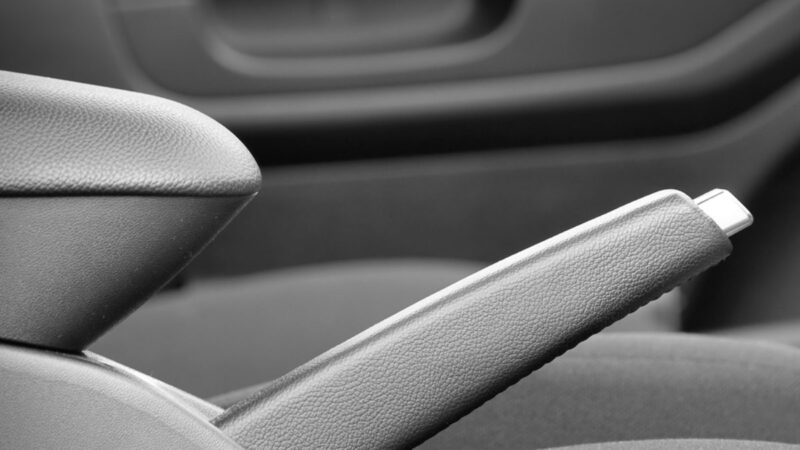
Check and adjust the installation brake lever Inspection of Parking Brake Lever
| CAUTION: * You must ensure that the brake shoe clearance is set to specifications before checking and adjusting the travel distance of the mounting brake lever. * The shoe clearance can be adjusted for the automatic adjusting spring brakes by pulling the clamping brake lever several times. * For breakthrough brakes without an automatic adjuster, the shoe clearance must be adjusted manually according to the methods followed in the vehicle’s maintenance book first. |
1- Checking the travel distance of the
clamping brake lever Pull the clamping brake lever with the amount of force stipulated in the specifications, and count the number of teeth that the
clamp cuts when it is in motion, see Figure (1). upon impact with a force of 20 kg (196 N).
Rear strut brakes have 4-7 teeth. Rear disc brakes have 5-8 teeth.
 |
| Figure 1: Checking the mounting brake |
2- Adjusting the travel distance of the brake lever (if needed)
a. Lift the enclosure of the locking brake lever.
B. Use two ordinary wrenches, loosen the tightening nut and turn the adjusting nut until it reaches the required distance as shown in Figure (2).
*  Fastening reduces distance Fastening reduces distance |
* jaw increases distance jaw increases distance |
T. Use two ordinary wrenches, tighten the tightening nut (torque 55 kg. cm – 5.4 Nm), then install the box around the retaining brake.
 |
| Figure (2): Adjusting the clamping brake |
Adjust the installation brake cable Parking Brake Cable Adjustment
Most car manufacturers identify at least three to four teeth and from eight to ten teeth up to a maximum when pulling the handbrake. Refer to the serviced vehicle’s manufacturer’s manual for required specifications and adjustment steps. Car manufacturers require that the rear wheel must be checked and adjusted before attempting to adjust the clamp brake cable. Brake Cable
Adjustment
* Make sure the rear wheel is tuned to specifications.
* Put the transmission in the neutral position.
* Lift the car with the winch while securing it on the fixed winch.
Method 1:
1. In the circuit position of the three or four-tooth brake tensioning vehicle, there should be a light load on the two rear wheels.
2. Adjust the cable to the balancer as needed so you have a lighter load in the rear wheels.
3. Release the clamping brake, in this case there must be no load on the two wheels. Repair or replace any rusted cables or adjust to no load. Lower the car from the jack, Fig. (3).
 |
| Figure (3): The process of adjusting the brake cable |
Method 2:
1. Make sure the hold brake is fully released.
2. Tighten the adjusting nut at the balancer until the rear wheel brakes begin to load. Then loosen the tension
by a small amount and make sure the wheels are not overloaded until you have fully released the wheels.
3. Tighten the tightening nut on the adjusting nut, Fig. (4).
4. Make sure the mounting brake is on.
 |
| Figure 4: Brake cable tuning parts |
| CAUTION: Always check brake cable tension after installing new friction linings. It may be necessary to reduce the clamping brake cable tension to allow clearance so the circuit can be fitted to the new bushings. |
* In many cars, the cable can be adjusted from inside the car, Figure (5).
 |
| Figure (5): Some of the installation brakes are set from the inside of the car |
Summary
* The performance of the wheel brakes and the stabilizer brakes can be tested with a brake force tester.
There are no reviews yet. Be the first one to write one.

